

Table of Contents
Types of ceramic plates
There are many different types of ceramic plates in terms of size, shape, and design, and each one has a specific function. For this reason, when buying dinnerware, there is a choice of plates of different sizes and not just a single example.
There are large and flat dinner plates, deep soup plates, dessert plates, bowls for serving all kinds of dishes, cereal bowls and small plates as saucers.
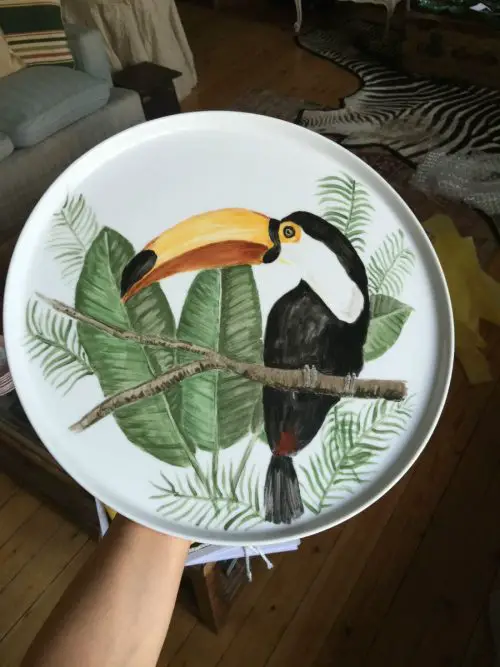
Decorations on the ceramic dishes are also very diverse. Sometimes they are very minimalist decorations and sometimes they are true works of art that are reflected on the plate.
How to make a ceramic dinner plate
Making this type of slab is one of the easiest things to do in ceramics. Although there is the possibility of making them with a potter’s wheel, you can also make them with your own hands without the help of a machine.
Of course, it depends on what shape you want to create, whether you want a slight curve or a completely flat shape.
In this case, here we are going to make a totally flat plate that is very easy to make and that will catch the attention of your guests as it is a design that is becoming more and more fashionable.
Materials
- Pottery clay for firing
- Wire or nylon cutters
- Rolling pin
- Knife or scalpel
- Circle shape
- Special kiln for high-temperature ceramics
Step by step
- As a first step, you should cut a piece of clay from the clay block . It is best to use a nylon cutter for this.
- Knead the piece of clay well and roll over it several times until it reaches the desired thickness of the slab.
- We recommend shapes that are neither too thick nor too thin. Otherwise, these are too heavy or, on the contrary, too fragile. If in doubt, use a plate as a guide.
- Once you have the right clay thickness, you can make the mold. Use a cardboard circle or a plate of the desired size. Place this shape on top of the clay and use a knife or preferably a scalpel to cut the clay along the edges of the shape.
- Now that your plate is the shape you want, you still need to give it the design you want. Pull up the edges of the plate a little. Do this carefully and try to make the entire edge symmetrical.
- If the edge isn’t completely smooth and the same height, that’s no problem. You can easily correct them with your fingers.
- When the mold is completely ready, you can put the mold in the oven from 800°C to 1,200°C for about 2 to 3 hours.
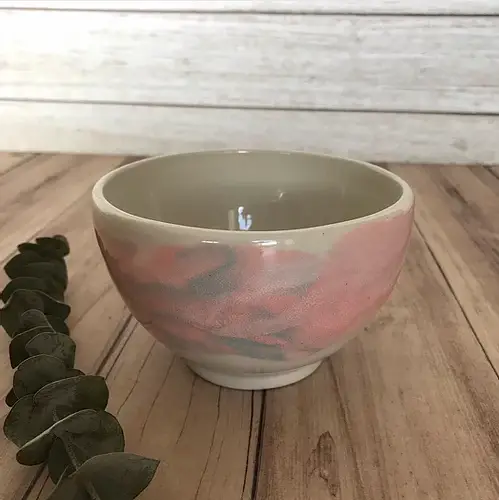
How to make a ceramic bowl
For the production of a ceramic bowl, you can choose one of the different modeling techniques. The easiest way to make a bowl is to use the potter’s wheel, but in this case, we’ll be using the churros technique (using clay sausages) so you can learn a little more about the whole art of pottery.
Materials
- Clay
- Rolling pin
- Special kiln for ceramics that reaches high temperatures
Step by step
- First, you need to portion the clay, and then knead it very well so that there are no bubbles or bumps that could spoil the final result. You can also use a rolling pin to get a better effect.
- The bowl will come in two parts. We’ll start with the base. Since we want to make a bowl, the base needs to be circular. You can make any size you like.
- To start making the churros (clay sausages), take a piece of clay and roll it back and forth with your palms on a plastic-wrap table. If you want the coils to be well-formed, you need to roll them with your palm and not your fingers. Another tip: the movement to lengthen the coil should be from the center outwards, not the other way around. You should make some churros longer than others because as the shell rises off the bottom, it will widen. The number of churros depends on how high you want the bowl to be and how thick the churros are.
- Once you’ve finished rolling the churros, you can place them one at a time on the base you made at the beginning. Since the bowl needs to be stable, we recommend using the thicker churros in the lower part. Since the shell is supposed to have a concave shape, that is, bulging outwards, it is necessary to place one coil on top of the other, but always starting from the middle of the previous one, so that it assumes this bulging shape.
- Don’t worry, this won’t be the end result just yet. The coils are finger-jointed to smooth the clay. With each connection, you should make a movement from bottom to top, then from top to bottom, as if pulling the clay.
To make it easier, you can join the coils that are on top of each other every time you place one, rather than after you’ve placed them all. - When you have fully rounded the bowl, you can place the churros straight on top. Namely, if you bend the bowl too much, you will end up with a soup plate and not a bowl like in the picture below.
- Now that the figure is completely finished, perfect the walls so the seams of the churros don’t show and your piece looks nice and smooth.
- When the bowl is completely smooth, you can bake it in the oven from 800°C to 1200°C for about 2-3 hours and it’s ready to use!
What can you paint a plate with?
Among the many ways to decorate your ceramic pieces, there are also colors that give a nice touch to the ceramic. Following, I will introduce you to the most important materials for ceramic painting.
Importantly, before using any type of material for your pottery, the clay must be prepared. This involves sanding the piece with 180 or 220 grit sandpaper to remove any type of defect or imperfection.
Also, wipe down the piece with a clean, damp cloth to remove any residual dust created while sanding the clay.
The materials you can use are:
- Oil paint and acrylic paint, which can be processed excellently on this material.
- Spray cans with different colors for painting or ceramic priming, i.e. preparing the clay so that the paint adheres better.
- Glazes, which are widely used by professional potters, which give a very shiny and special result.
- Markers used to add small details to the ceramic. They allow greater personalization of the piece.
What to consider when buying a ceramic plate
There are many places where you can buy your plates with unique and beautiful designs, e.g. B. in online shops or household goods stores. But to find the best pieces, there are a few things to consider:
- The size: You should consider carefully whether the plate is the right size for what you intend to use it for and whether it fits well in the space where you store your dishes.
- The color: If you are one of those people who like everything in your home to be harmonious and fit together, you should think carefully about whether the color of the plate or its decoration matches the other objects in your kitchen.
- Glazing: In order for your plate to last and not be contaminated with bacteria or germs, it is very important that the ceramic is glazed. It also creates a beautiful, shiny effect on the plate. When we say the piece is glazed it means that a ceramic glaze has been applied which protects the piece and also makes it shine. Since this is the case with most tableware, this is an easy point to consider.
- BUY A COMPLETE Crockery Set: What could be nicer than having several beautiful pieces in your kitchen? If you have the budget and you like the dinnerware, buy an entire set to display at family gatherings or get-togethers with friends. This is usually cheaper than just a single disk.

