Table of Contents
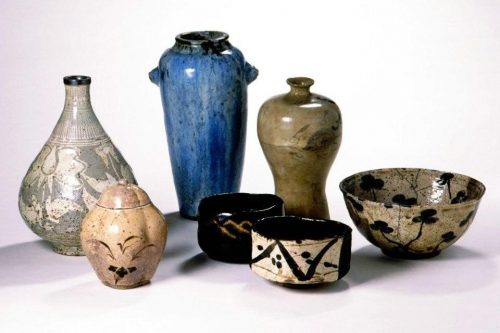
What is ceramic glaze?
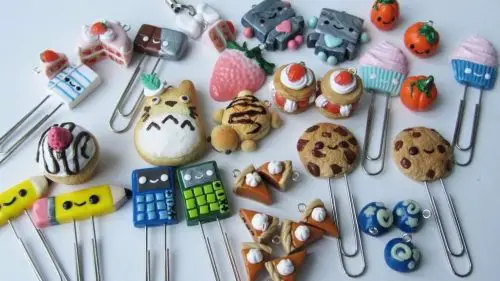
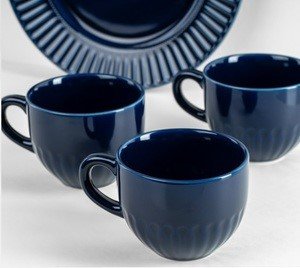
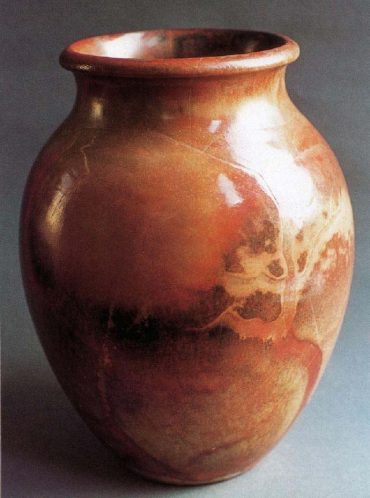
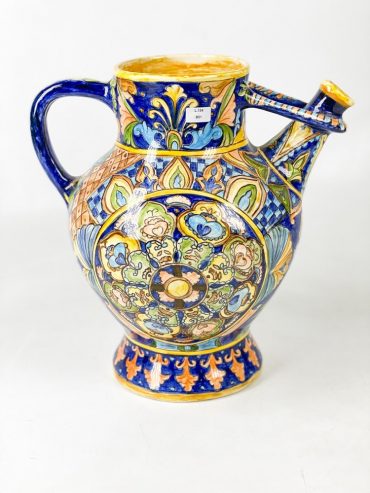
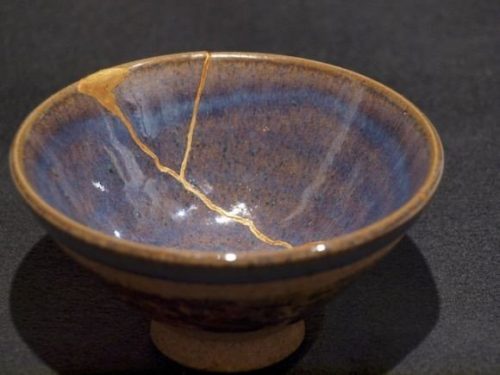
Ceramic glazing is one of the most recognized and important techniques for decorative objects such as tiles, crockery such as B. Plates, vases and jewelry.
To understand it easily and quickly, it is a coating with a glaze on the ceramic that gives it a much nicer finish and to make the colors look clearer and brighter.
In this process, a finished piece of pottery is covered with a glaze and then fired. This creates a transparent layer of paint that creates the glass effect on the piece.
The beginnings of ceramic glazing date back to the Egyptians, who lived in 5,000 BC. Made the first glazed objects by mixing a little clay with soluble salts.
This technique gradually spread around the world and reached China, where years later ceramic kilns were perfected, with better results as the pieces no longer broke as before.
Because this glaze requires high firing temperatures, ranging from just under 1,100ºC to over 1,200ºC, it is a technique for experts only. But don’t worry; if you are just starting out in this world, you too will soon be able to reach this level.
Glazing formation and composition
Most ceramic glaze materials are derived from common rocks and minerals that are easily found in nature. These are fine powders that are mixed with water to form a paste that forms a thin, even layer.
Some of the main raw materials used for glazing are:
Flint
This is a type of quartz. This is ground into a fine, insoluble powder.
Feldspar
It’s a perfect material because it’s easy to melt, making the process less complicated.
Colemanite
When used as the main melting material, it imparts a broken, mottled, shiny, and variegated texture to the glaze.
Bone Ash (Spodium)
The glazes of Chinese Sung Dynasty Chun ware also contain phosphorus and their opaque color is precisely due to the presence of bone ash during firing.
Cryolite
Excessive use can cause problems as it creates porosity (permeability) that burns the glaze. In other words: Small holes appear in the ceramic.
Sodium tetraborate (borax )
This substance makes the mixture more fluid.

Glaze texture
The texture of the glaze is highly dependent on the materials and the firing process. When the glazes are clear we can look through and see the clay, but sometimes they are opaque, appearing like a dark, chipped glass obscuring the contents.
The opacity of the glaze itself is due to the material used or to the presence of opacifiers, that is, elements that make objects dark. Air bubbles trapped in the piece can also cause this.
There are also semi-opaque glazes, i.e. glazes that make the substrate partially visible. They are attractive because they show the decoration but hide it a bit at the same time. However, it is difficult to control these glazes as the thickness of the layer and the firing temperature become critical factors.
Glaze color
Like the texture of the glaze, the definition of the colors is highly dependent on the materials and firing methods used to treat the pottery.
Glaze can be compared to the effect created by mixing dye with water. The color of any transparent glaze, i.e. a glaze that reveals the original color of the pottery, is the result of the absorption of streaks of color by white light.
With this technique, there are two ways of applying color to ceramics, under or over the glaze.
Colors under the glaze
Underglazes are not only durable, waterproof, hygienic and easy to clean, they also have the advantage of offering a wide range of colors.
One of the most striking aspects of the ceramic glaze is that the colors and color and structural changes can occur at different levels of the glaze layer, giving it a very special depth, color variety and luminosity.
The underglaze colors are visible behind the glass coating, allowing the pottery to be clearly identified. With this method, colored glazes are applied to the work piece with a brush or by spraying, and can then be lightly covered with a transparent glaze for a rich finish.
Colors on the glaze
With this technique, the ceramic must first be covered with a white or light-colored, opaque base glaze, which forms the basis for the decoration. The decoration is applied to this coating with colored glazes.
When the piece is fired, the pottery melts and blends with the background glaze. The decorations on this glaze have a multicolored appearance and their edges are smooth and blurred, due to the meeting of the two glazes.
Another type of overglaze decoration is glazes, which are applied to a fired and fully glazed surface and melted and adhered in a separate firing.
These are usually applied to white ceramics as this background gives the color a high gloss.
One of the most intriguing facets of ceramic glazing is that the colors can appear on different levels. This gives it a very special look, different from that of painting, creating visual magic that is difficult to imitate.
Possible defects
There may be some problems with this glazing technique, such as: e.g.:
- Cracking: Cracks may appear when the pottery is removed from the kiln or some time later. This is due to stresses caused by the glaze being absorbed during the firing process and sometimes being too small for the size of the pottery.
- If the pottery is dirty: If the glaze is applied to dirty pottery, it will not adhere properly. It separates when it melts, revealing patches of clay.
- Pitting: For many potters, this problem is the most annoying and difficult to fix. When the piece comes out of the kiln, it can show this imperfection, which is small holes or pits reminiscent of miniature volcanic craters. These arise because there may be air pockets or small bubbles on the surface of the ceramic. It can also cause pitting if too thick a glaze is applied.
How is a ceramic glaze applied?
Fast and easy procedure
For a very simple process of glazing you need to use Duncan Glazes and just follow these steps:
- First step: You need to put the amount of water and glaze required for your work into a container. For this you need twice as much glaze as water, for example, 40 ml water and 80 ml glaze.
- Step 2: Now you can mix the glaze with the water very well and finish.
- Step 3: Apply the glaze to the ceramic with a brush and let it air dry.
Duncan glazes are the best glazes on the market for items such as plates, glasses, and crockery as they are non-toxic and also perfect as they are waterproof.
You can find them on Amazon, eBay, or in stores that specialize in ceramics.
A long and complex process
Because of the lengthy and complicated process for larger pieces in a kiln, these powder glazes, such as B. lead glaze, not recommended for tableware.
These powder glazes are better known as ceramic glazes and are available in clear, semi-opaque and opaque sizes of 1,000 grams, 5kg bags and 25kg bags.
- First step: mix the powder with a little water. The amount depends on the size of your pottery.
- Step 2: The mixture is applied to the ceramic with a brush.
- Step 3: To finish, the piece is placed in the oven at a temperature between 800ºC and 1200ºC for 2 to 3 hours.
In the first stages of melting, the glaze becomes very rough and can crack like clay when it dries. As the melting progresses and the glaze becomes more liquid, a smooth layer forms on the ceramic.
During the melting process, most glazes go through a boiling phase, much like water does when it boils, and during this phase, large bubbles form that can burst and cause pitting.
After waiting 2 to 3 hours for the glaze to bond to the ceramic in the kiln, we can take out our piece and admire a magnificent result, shiny, beautiful and that will stay with us for quite a while.
This is a long and tiring process but if you want to admire a piece of art in your homemade by your own hands, this is the perfect technique!