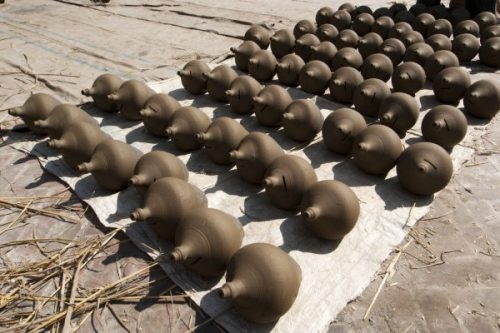
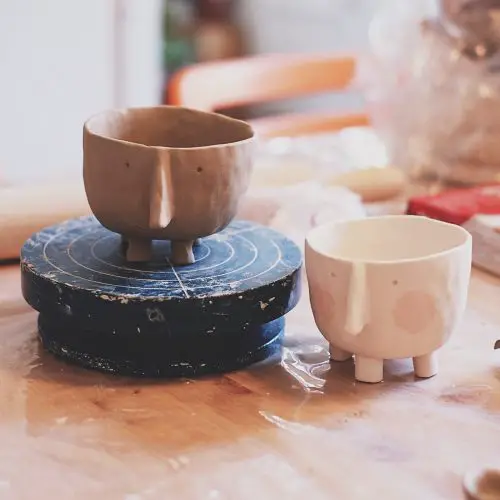
“Drying the clay is the easiest part of making a ceramic piece!” Wrong, drying the clay is one of the most important parts of the whole production process and in this blog you will learn why it is so important and what different types of drying can help you .
Table of Contents
The importance of drying
One of the most important steps for a successful work is drying and that is why we have created an exclusive blog where you can learn all about it.
Depending on the clay, there are different drying methods. Regardless of the material, however, the drying process must be carried out very carefully in order to avoid defects in the workpiece. Good drying is so important because it prevents the ceramic pieces from cracking, tearing or splintering.
What is drying?
Drying in the manufacture of ceramic crafts is the loss of water from the piece. This causes the piece to shrink a bit in size as well, as one of clay’s main components, water, is lost.
Tips for drying clay
With clay, drying is extremely important because the piece needs to be fired and if not properly dried it can explode in the kiln. This can not only affect the piece in question, but also other objects that are nearby.
So, to avoid damaging an entire production (or even just a single piece), follow these tips.
1. Keep the mud soft
The clay should be neither too dry nor too wet. If you find it’s too dry, sprinkle with a little water and allow the clay to absorb the water before working with it.
2. Use a hair dryer
If you are in a hurry, you can use a hair dryer to dry the piece a little faster, but be very careful while doing so.
Do not hold the hair dryer too close to the clay so that it does not dry in sections, but hold it a little further away so that the clay is worked over a large area with the warm air. Always blow-dry from the bottom up so the bottom cures first.
3. Do not dry in the open air
Don’t let the clay air dry directly, it needs to dry inside out as if breathing out the piece.
If the clay is allowed to air dry, it dries very quickly on the outside, but there are still water particles on the inside. This can cause the piece to crack when fired because the water particles cannot escape.
4. Cover the piece with plastic wrap
To ensure perfect drying, you should cover the piece with plastic when fully modeled. The plastic should have small holes that allow air to escape.
5. Dry in the sun
If you don’t have a dryer or if you’re in a hurry, you can dry your clay pieces in an open area in the sun.
It is important that you cover the piece with plastic wrap first. The intense heat generated by direct sunlight can also crack the piece.
6. Dry with a cloth
be completely dry before firing in the kiln to avoid cracking, you can try wiping it once more with a cloth.

Tips for drying polymer clay or cold porcelain
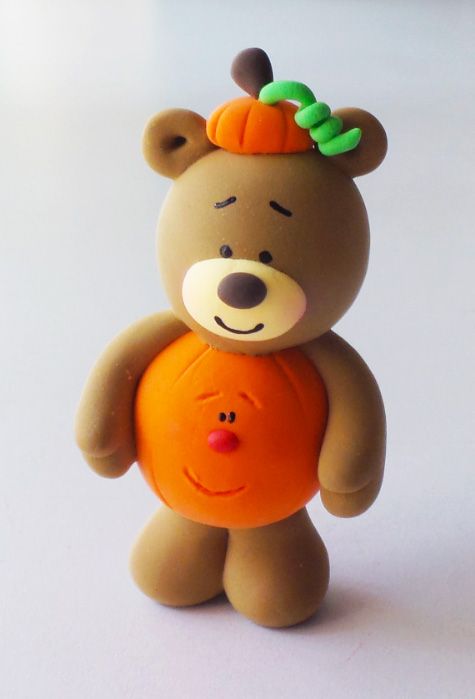
As we have explained in other blogs, polymer clay and cold porcelain are malleable pastes that are comparable to modeling clay and can be used by anyone.
And just like clay, both of these materials need to dry well to avoid the same problems of cracking and breaking. Although neither polymer clay nor cold-paste porcelain requires a kiln, they do require drying and can be damaged if handled improperly.
Due to the components, they do not require a firing process, but for this reason, they also run the risk of drying out very quickly and becoming cracked.
7. Allow drying at room temperature
First of all, you should know that these are malleable pastes that air dry. So you can let them dry at room temperature for one to four days without the need to cover them.
8. Use a hair dryer
With both materials, you can also use a hair dryer to dry your piece faster. You should exercise the same care as with the sound. Space the material so the material dries evenly, and dry bottom-up so the bottom dries first.
9. Dry in the kiln
If you want the pieces to be a bit harder, you can also dry them using a domestic or ceramic kiln.
In the home kiln, you have to dry the objects at 100 °C. When dried in a ceramic kiln, they can withstand temperatures of up to 1000°C. So, depending on the size of the piece, you can adjust the temperature.


