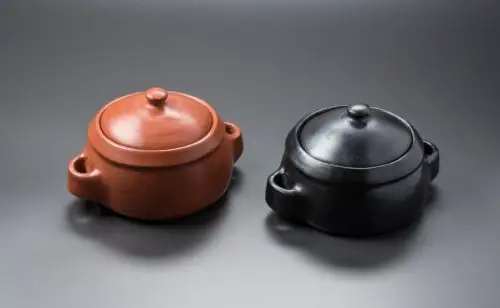
Table of Contents
Impressing with stamp technique
To carry out the stamping technique, you need a stamp with a fine or blunt tip. Once you own this tool, all you have to do is follow these simple steps:
- When the piece is just being modeled and the clay is still fresh, take the stamp and gently, but at the same time with some force, press it onto the object.
- The pressure applied should be in an order dictated by the potter.
- The piece is then dried and subjected to the firing process.
Finger or nail grip technique
This technique is the oldest of all decoration techniques because, as the name suggests, you don’t need any tools, just your hands, fingers and nails. Because of this, this was the first decoration technique used and invented by our ancestors.
The printing technique is carried out as follows:
- As with the previous technique, it is imperative that the piece is fresh.
- After making sure the dough is soft, leave fingerprints or bury your fingernails to mark them on the object for decoration.
- Finally, the piece undergoes the drying and firing process.

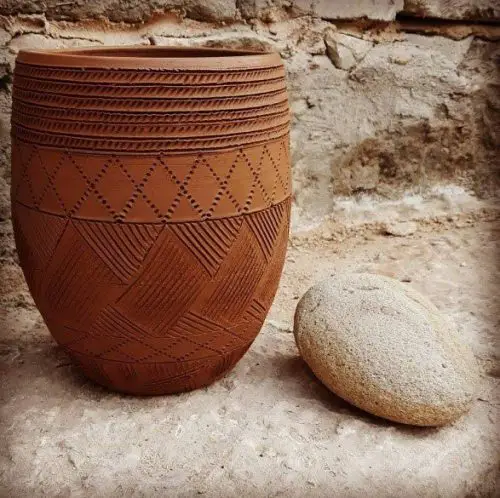
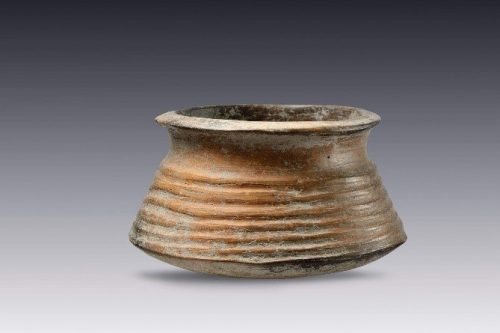
Combing technique
The combing technique consists in decorating the piece of clay with the comb, the tool par excellence.
To apply this technique to clay objects, all you have to do is:
- Check if the clay object is still fresh so that the next step can be done successfully.
- The comb must be drawn through the clay, forming linear successions that decorate the piece to the potter’s taste.
We advise you not to lift the comb too much, because the lines should be even. - Once you have completed the lines with the comb the piece should be placed in the kiln at the required temperature to achieve proper firing.
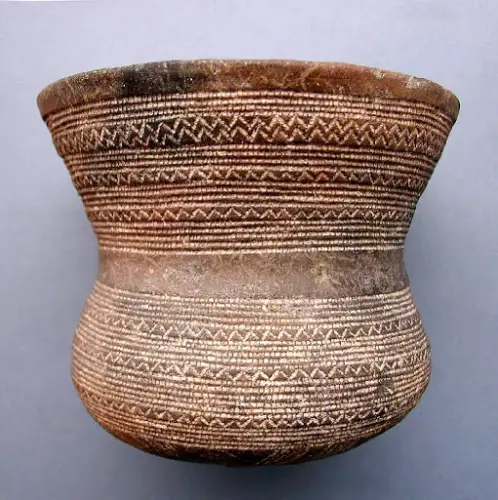
Incision technique
The incising technique is one of the most common techniques used in antiquity and is still occasionally used today. This decorative technique was (or is) performed as follows:
- Just when the piece is finished forming and the clay is still fresh, a punch with a round or triangular point or whatever the potter prefers must be ready.
- Once this tool is available, the lines are drawn onto the piece in the order desired by the potter.
- After the lines have been made, the piece is subjected to the necessary firing. In this way, the resulting lines are marked on the clay object.
Excision technique
The excision technique is quite a curious technique as it consists in removing or cutting off a piece of clay from the clay object so that the figure has a clearly visible indentation in the clay mass. The procedure is very simple, let’s take a look:
- Make sure the piece is still fresh enough to make cuts in each piece or area of the piece.
- Once the first step is done, cut out a piece from any part of the piece.
- When the pieces have been removed, or the piece that the potter intended to cut has been removed, the piece should air dry completely and then be placed in the kiln to fire.
The technique of cutting out is very unusual and may strike many as odd and unaesthetic as removing a piece can damage the shape of the object. But this is considered abstract art and is a matter of imagination.
Groove technology
The grooving technique is very similar to the gouging technique in that it also requires a blunt-tipped awl, i.e., a semi-circular, slightly pointed tip. To apply this technique to their pieces, the ancestors followed the following steps:
- After modeling the piece, while the clay is still wet to the touch, the tip of the awl should be drawn across the object, which will give the desired pattern.
- The stroke should be done gently, being careful not to cut the piece. These strokes are only superficial.
- Finally, the piece undergoes the firing process. After this step, the strokes are marked and solid.
Cord technique
The cord technique is used with thin cords.
- The string technique is used once the piece is ready to dry but still a little soft.
- Begin pressing the string against the object. The line should not rotate.
- Finally, the piece has to dry and is then baked in the oven.

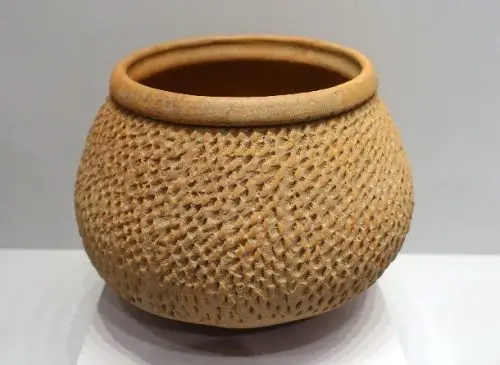
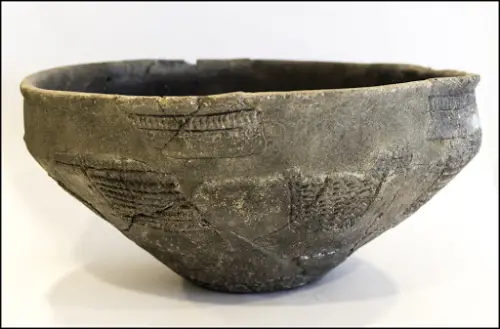
Cardium – or impress culture technique
For this technique you need shells, yes, exactly the ones that come from the sea. Here we show you the steps to follow for this interesting technique:
- Make sure that the tone of the piece is still a bit soft, but that you don’t leave any traces with your fingers when you touch it.
- With the conch shell, start making small strokes. These strokes are created by digging in the round, irregular rim of the shell. We recommend that the conch shell you use for all strokes should be the same (or at least the same) size so that the decoration is consistent.
- After that, the piece should be kiln fired or left to dry in the open air, depending on the type of clay.

Boquique technique
For the boquique technique, you need a small or medium-sized pointed object (you can choose the point of this object, it can be flat or round) and an awl of the same size. Now let’s look at the individual steps to apply this technique:
- As with the other techniques, it is very important to make sure that the piece is still a little soft.
- The pointed object should be drawn across the piece, making lines that can be cut and divided by punctures with the awl. Also, we recommend that both the pointed object and the stamp are similar in size for a better result.
- Finally, the piece is placed in the kiln to be fired at the desired temperature.
Almagra technique
In the Almagra technique, Almagre, also known as iron oxide, is applied to the piece.
This technique is one of the oldest, as Almagre was used as a type of paint applied to the pieces. This material was obtained directly from nature. Almagre is also known as the red earth because that’s exactly what it is: red earth.
The ancestors collected the red earth and mixed it with some water. It is important to know that red ocher consists of dehydrated iron and aluminum. These properties make it an excellent material that retains its color when applied to an object.
It is also possible to find the Almagre in stones. To prepare the mixture, the stones had to be ground or rubbed together first, then strained to clean the sand, and finally mixed with water.
Now let’s look at the four simple steps to apply the Almagre to the clay pieces:
- Make sure the piece is in the right place to place it in the kiln.
- When the piece is at this point, apply the ocher to the outside of the piece. This can be done with a brush or brush, but earlier the whole piece was dipped into the mixture.
- The piece should then be allowed to air dry.
- After the almagre has dried, the piece is placed in the kiln to undergo the firing process. When it comes out of the kiln, the piece retains its signature red color from iron oxide.